Cooperation, competition and customer service

Posted on 2 Comments

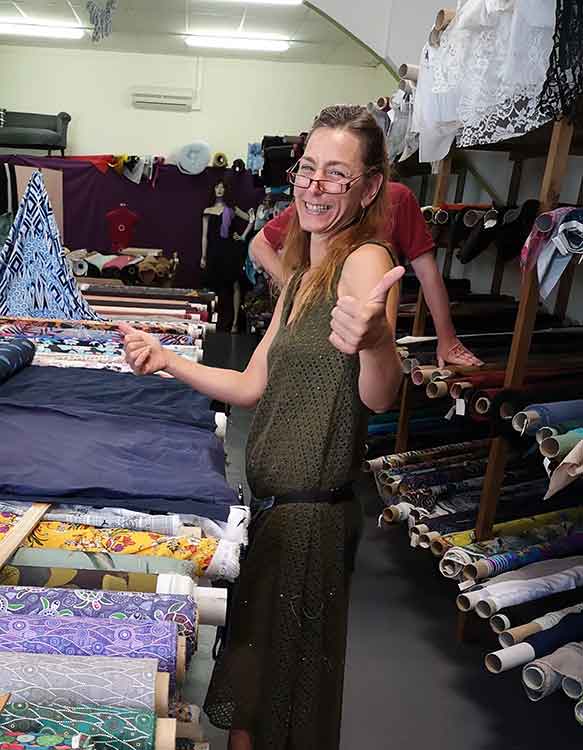
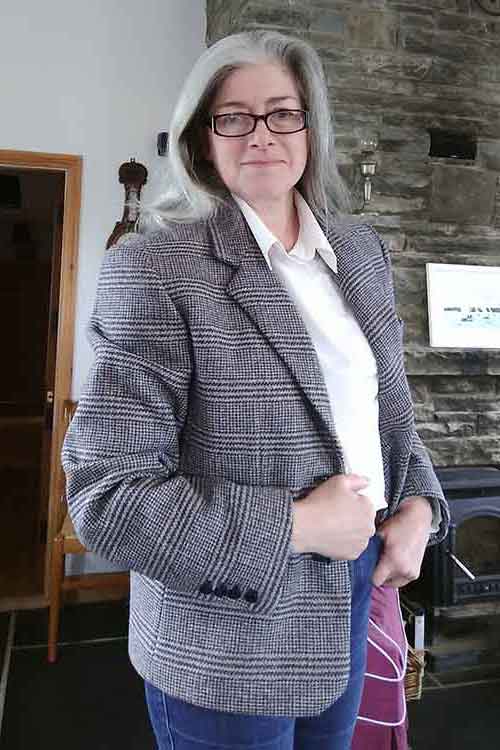
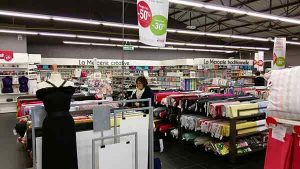
This is Roxan. Roxan is a dressmaker who owns a shop selling haberdashery and fabric. Like me. Although that’s probably where any similarities end. Her little Aladdin’s Cave is in Saint Gaudens, in sunny SW France; mine is in wild and windblown Miltown Malbay, on the West Coast of Ireland. However, it turns out we do also share a certain attitude towards customers, and others in the same business.

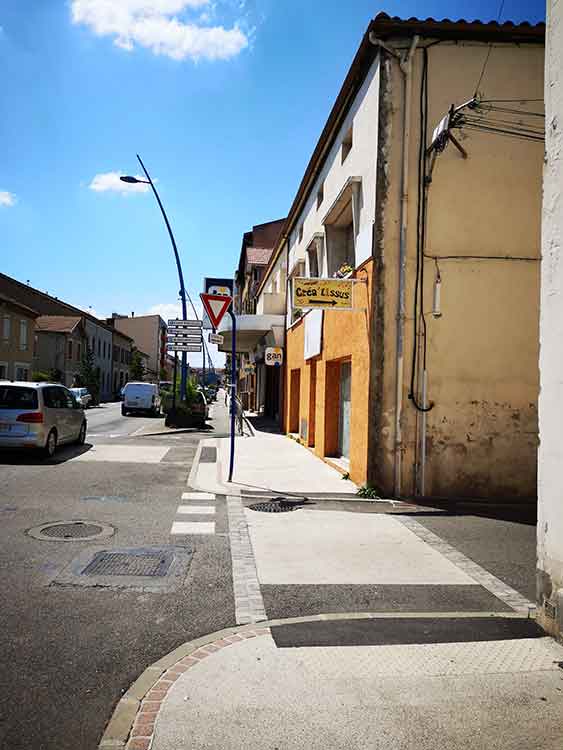
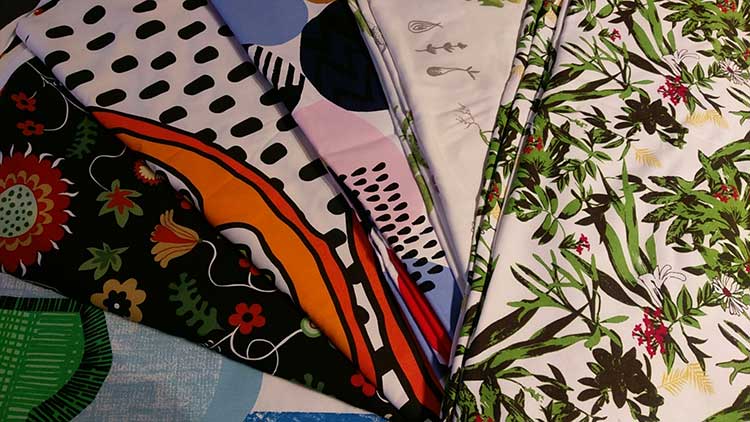
I stopped in to buy some fabric that I’d seen on her Facebook page, Crea’Tissus. We chatted about her shop and mine and then, to my surprise, unprompted, she pulled a file from under her desk and wrote down the names of two or three suppliers that she thought I might find interesting.

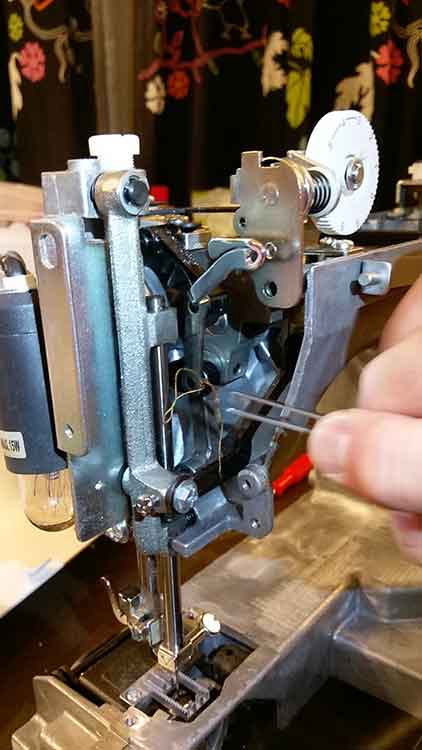
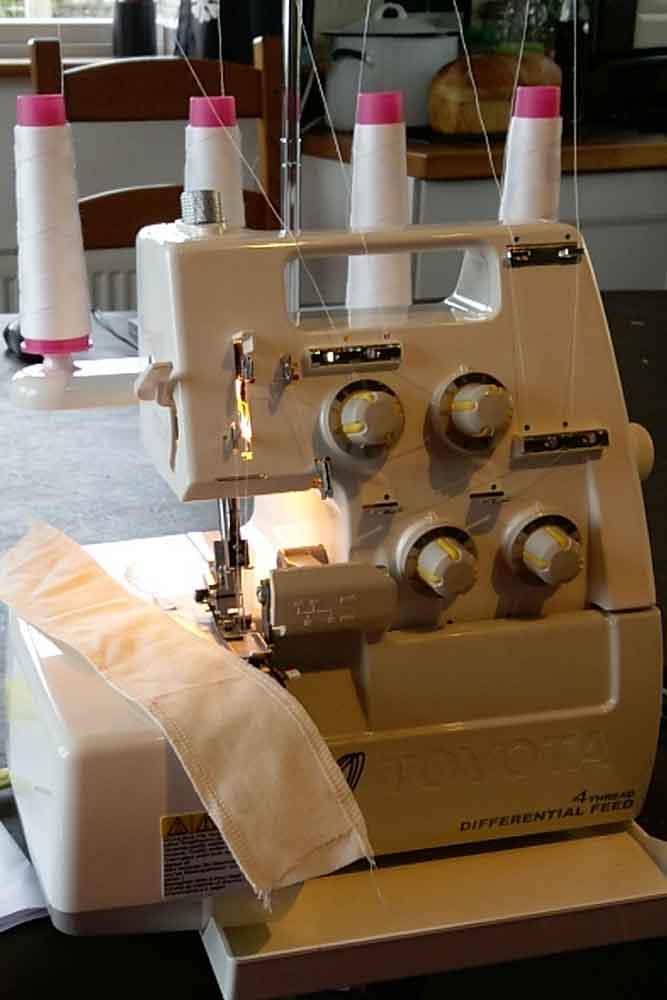
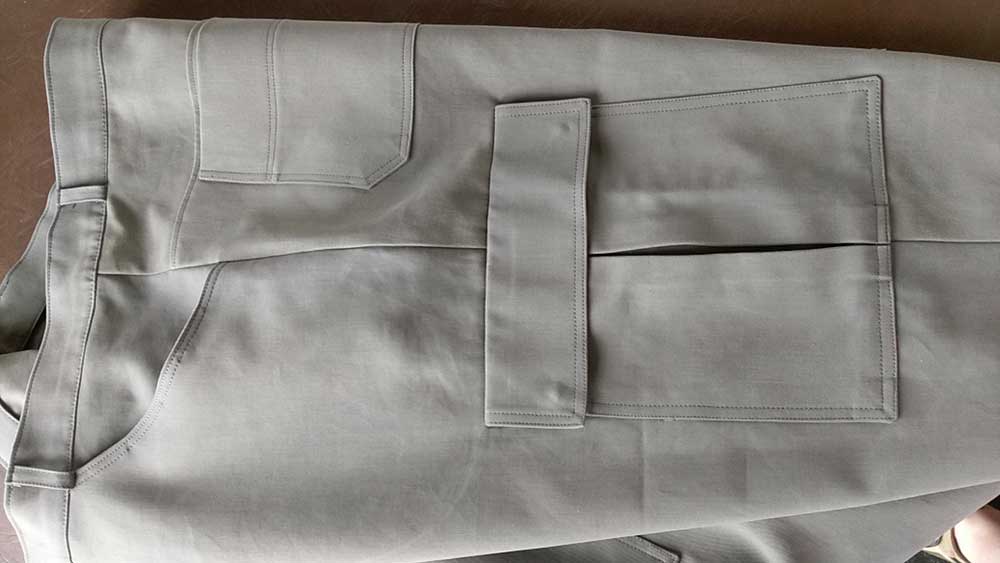
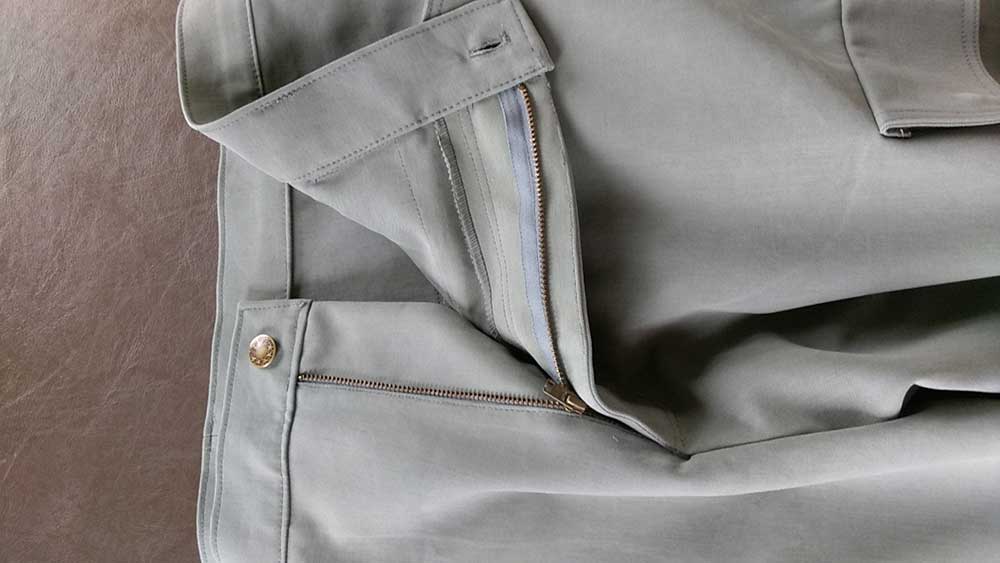
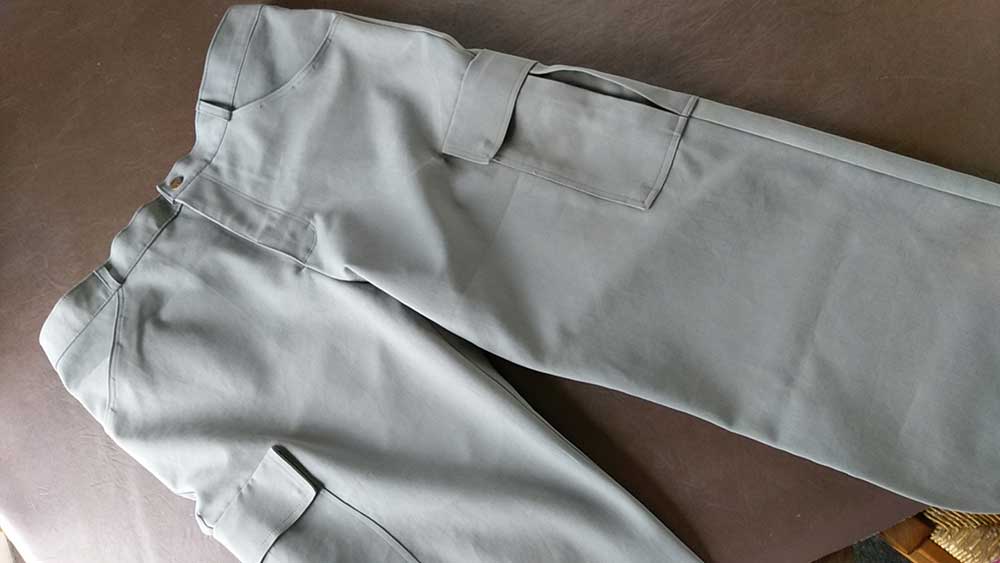
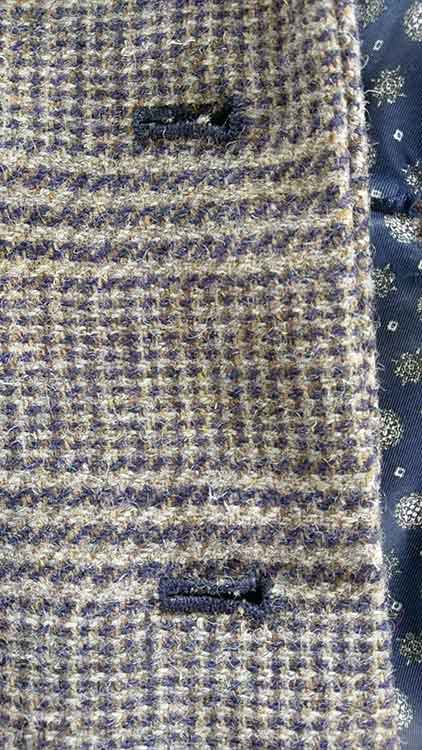
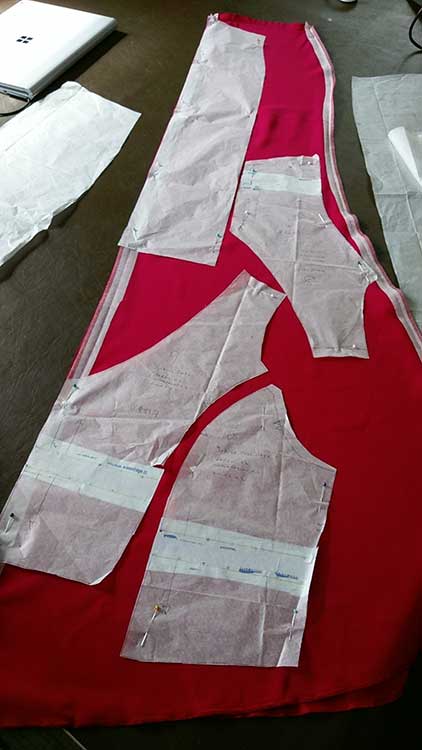
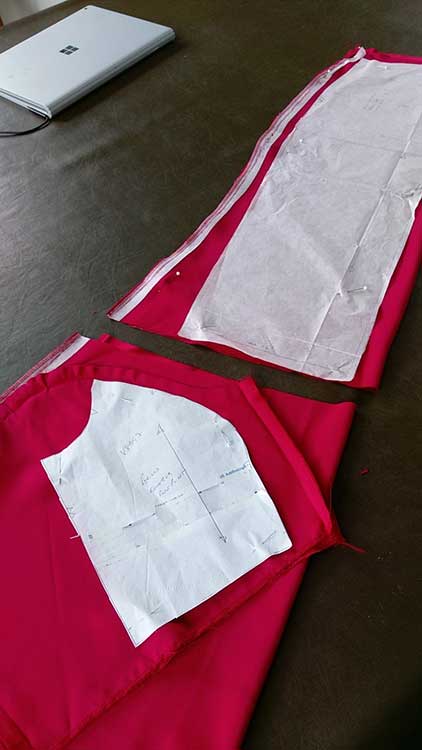
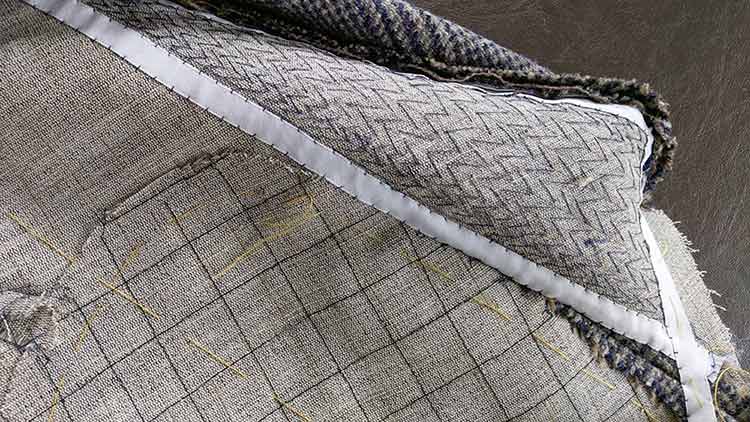
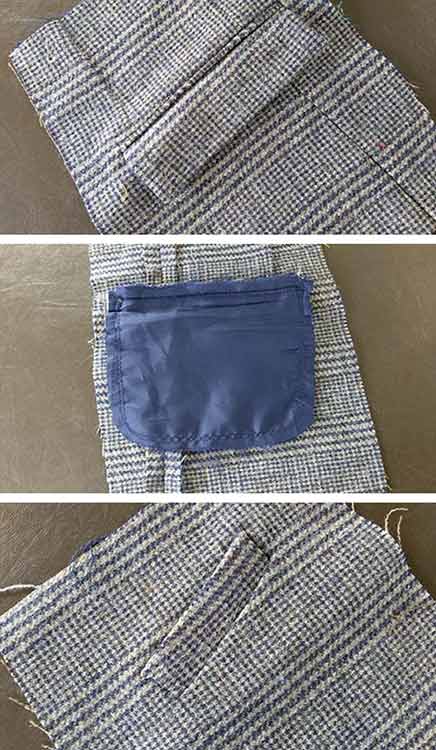
Going back to the beginning, in the early days of my dressmaking business, I started running sewing classes. Since my learners needed supplies – and the nearest comprehensive source of haberdashery was in Limerick – I found it convenient to keep a few items in stock. My recommended starter kit consists of just seven items: fabric shears, embroidery scissors or thread snips, a seam ripper, tailor’s chalk, pins, hand sewing needles, and a tape measure.

I was buying from a wholesale warehouse in Dublin but, on my last visit, I had found their shelves empty. In spite of this, they unapologetically tried to insist on a minimum spend. Leaving, empty-handed, Wild Ireland Haberdashery was conceived in the few moments it took me to walk across the car park. At that time, I didn’t consider the possibility of a bricks-and-mortar store. My degree was in IT and I had the technical know-how to build an eCommerce site, so that’s where I began. But I needed help.

There was a little sewing shop in West London that I used to love. Not too far off the High Street, their window was always a treat, tempting even non-sewists inside. They didn’t have a lot of space, but they used every inch. They were my ‘go-to’ for all things sewing and I bought my sewing machines there – starting my love affair with Husqvarna Viking, incidentally. If I ever did have a shop, I told myself, this was the perfect model. I emailed the owner, asking for advice for my new enterprise. To my surprise, she emailed straight back … with enough encouragement, information and advice to give me a head start.

At first, I phoned or emailed potential suppliers slightly timidly but, as the positive responses came in, my confidence grew. That is, until I began to introduce myself to ‘competitor’ businesses that I admired. Suddenly, I found the shutters came down. None more so than with a quilting shop in the UK, whose owner told us bluntly that she would not help and then followed us around the shop to make sure we left. I was a bit shocked. This is not my way. Certainly, I have a lot to learn about business in general, but I’ll always do my best to help.

Forty years ago, every home had a sewing machine. But, as clothes and furnishings became cheaper to buy new, sewing started to attract negative connotations, linking the pastime to ‘make do and mend’ and threadbare hand-me-downs – the implication being that those who sewed couldn’t afford to buy new. Changes to the national curriculum meant that home economics got squeezed out in favour of more academic subjects. Sewing was no longer taught – at home or at school. It was no longer a necessary skill and the inevitable, subsequent closure of local drapery and haberdashery shops made it difficult to buy materials.

But home dressmaking, along with quilting, knitting, and crochet, is making a come-back. These days, for those who don’t make a living from it, sewing can be equally a therapeutic pastime and an expression of creativity. It’s a great way to create your own unique style and custom-fitted wardrobe, in a world where there is a dangerous over-abundance of throwaway fashion. One thing home sewing – in any form – isn’t, is a sign of poverty!

My mission in life is to get everyone sewing again and I aim to make it as easy as possible for people to find what they need to do so – whether it’s a reel of white thread or a dressmaking course. If that means sending someone to another supplier, or telling them about a shop or a college course that might be more convenient for them, that’s customer service, isn’t it? My hope would be that next time they’re looking for something, they’ll remember and give me a call. After all, everyone who sews is a potential customer.

Value for money or false economy?

Posted on 5 Comments

For the majority of my beginners’ “Kickstart Dressmaking” course, my aim is to demonstrate each step of the construction process, by making up the same pattern, stage by stage. Because my learners are beginners, most of them – if they own a machine at all – own a fairly basic, budget model. For this reason, the machine I use for my demonstrations is a 4-year-old, Lidl-special, Singer Serenade. They’re cheap but functional, and there’s little to go wrong. In terms of a sub €100 sewing machine, they’re great value for money. I’m a fan. Of those pretty-looking sewing kits that contain dozens of pre-wound bobbins and small spools of colourful but, ultimately, poor quality thread, less so.

The focus of the Kickstart course is to make up a sample pair of shorts, cut down from a McCalls trouser pattern (the original of which is included in the course fee), and Saturday’s first task was to install the fly-front placket zip. Before we did that, I needed the learners to finish the raw edges of the fabric using a zig-zig stitch. As usual, I demonstrated how to set up the Serenade for zig-zag and showed them what was required. However, on holding up the finished piece, I realised that the stitch was only, in fact, zig-zagging on the upper side of the fabric. Underneath, the stitch looked more like some sort of overcasting.

To a newbie sewist, misbehaving thread tension can seem confusing. Somewhat illogically, if the stitches on the upper side of the fabric look fine, but the underside seems loose, you can be sure that the issue lies with the needle thread tension. Conversely, if the upper stitching looks loose, but the underside looks good, then the bobbin tension is to blame. I did a quick visual inspection of the needle thread pathway, checked the tension dial, re-threaded the machine, and tried again. There was no improvement. “Perhaps it needs a service?” offered one of the learners.

While not entirely a bad idea, it often pays to investigate a little further before seeking professional help – particularly if the machine has shown no previous signs of a problem. Most service technicians will charge a minimum of €40 and €50, assuming that no parts are required, and it can take several weeks before it is returned. Too many people, faced with a €50 bill for a machine that only cost €80 in the first place, will simply put it back in its box and stash it away under the stairs when, in fact, all that is required is bit of a clean or a new needle.

I’m somewhat ashamed to admit that, rather than delay the class by fetching another machine, I completed the day with the misbehaving zig-zag stitch. After the class had finished, John and I took the cover off the Serenade and pretty much immediately identified the problem. A 6″ length of broken thread had jammed in the needle bar crank. Having exposed the whole mechanism, John gave all the moving parts a good clean and carefully teased out the thread with a pair of tweezers.

This brings me to my next pearl of wisdom. When dismantling anything that has more than half a dozen screws, it’s a good idea to put in place some system for identifying where they all belong. Having replaced the cover and tightened everything up, John found he was left with one spare screw and a small tubular spacer, for which we could find no obvious home. There was nothing for it but to take the slightly risky step of stripping down an identical Singer Serenade in an effort to ‘spot the difference’. Then, big children that we are, John and I raced each other to see who could put their machine back together quickest!

Our efforts paid off and, having spent nothing more than a fairly pleasurable hour or two, stripping down, cleaning, and reassembling the two machines, they are both now working perfectly again. The moral of this story is not be tempted to use cheap Chinese thread in your sewing machine. It’s a false economy. The thread that comes in those pretty boxes from Lidl and Aldi is entirely unsuitable. Weak thread can easily break and jam inside the machine and its stretchiness (in comparison with a good quality machine thread) can affect the tension settings – especially with more expensive, computerised machines. Oh, and don’t forget to keep an eye on your loose screws!

Toyota SL3335 Overlocker Review

Posted on 6 Comments
Toyota-SL3335-overlocker-review2

Toyota-SL3335-overlocker-review1Goodness knows how, but I carelessly broke one of the guide pins on my trusty Huskylock 905 overlocker, and my backup machine has been left in France, after I was firmly told that there was no room in the car after our summer break. I’m running an overlocker workshop next weekend, and experience has told me that in any class of 4 people, at least one person is likely to have some sort of issue with their machine. Rather than waste valuable class time, I always like to have a spare overlocker on hand just in case we can’t get it going, so I decided to treat myself to a new one.

The machine I chose was a Toyota SL3335 (one of several SL1T-X Series machines), which was reduced from £219.00 to £185, making it not very much more expensive than the Pfaff I bought from Lidl a few years ago. The reviews were good and, though I’ve never had a Toyota sewing machine, I trust the Toyota brand.

Delivery to the Republic of Ireland was stunningly quick from Eastman Staples, via Amazon – ordered on Tuesday, delivered on Friday!

So, straight out of the box, the machine has a pleasingly robust feel to it. It came threaded with four mini cones of fairly poor quality white thread, which immediately broke as I chained off to remove the sample fabric from under the presser foot. Oh, snap! Nevermind, I’ll need to know how to thread the machine anyway, so straight out of the box is as good a time as any.

The threading illustrations in the manual are unhelpfully small and, while the machine appeared to be chaining and cutting, it was not stitching. So often it’s just a seemingly insignificant detail in the threading order that can make all the difference, and this case was no exception. Having had several unsuccessful attempts, I eventually resorted to YouTube and found this excellent tutorial from aisin.fr -a French gentleman, I’d guess, but the video is clear, well-made and silent, so there are no language issues to worry about. Anyway, Monsieur Aisin seems to be a bit of an expert in the field of Toyota sewing machines: https://www.youtube.com/watch?v=vg4Rjnzh4aQ. Contrary to the the user manual – and every other overlocker I’ve ever used – he threads the lower looper first. I’ve no idea what difference this sequence could possibly make, but it worked! Having run a calico sample through the machine several times (to loosen up the new mechanism and distribute any lubrication), the machine produced a nice even stitch. The factory tensions settings were pre-set at 5 (left needle), 3 (right needle), 3 (upper looper) and 3 (lower looper), and I didn’t feel the need to alter them.

Toyota-SL3335-overlocker-review3What I particularly like about this machine is the accessibility. To thread the lower looper, you simply swing the left-hand side cover open and turn the hand wheel until the thread guide is visible. This arrangement also makes cleaning the machine a doddle. The mechanism is simple, compared to many, and the parts seem good quality. For such an inexpensive machine, it seems to check all the boxes for functionality too. There’s an adjustment for the presser foot pressure and you can alter the differential, stitch length, and cutting width. There’s even a neat little lever that takes the stitch finger out of the way for a rolled edge.

At £185, one doesn’t expect too much in the way of accessories. This machine comes with two little packets of good-quality Organ HAX1 (705/130) overlocker needles in sizes 11 and 14, a small flathead screwdriver for changing the needles, a pair of (frankly, rather useless) tweezers, 4 cone nets, and 4 spool adapters. What I liked best was that it came with a waste tray. My Huskylock has a nice little net bag for catching off-cuts, but so many of the more basic machines leave you to find your own solution.

What’s not to like about the Toyota SL3335? Perhaps the only thing that lets it down is the multi-language User Manual. For my middle-aged eyes, the typeface and illustrations are just too small. But that’s a minor gripe. I’ll need to use the machine a bit to fully explore its capabilities, but initial impressions are that it’s a great little machine for the money.

A shoemaker’s children go barefoot

Posted on 2 Comments

discontinued Burda pattern 2713 Just for the record, before I start, I don’t make men’s clothes. Ever. Well, not usually. However, having heard my husband complain for the umpteenth time that he couldn’t find durable, good-quality trousers for everyday use, I rashly offered to make him a pair. Actually, he found some ‘ideal’ heavy-weight brushed cotton twill fabric, while I was fabric shopping for myself in London’s Berwick Street, and asked me if I would make him a couple of pairs. That was over three years ago, hence the proverb.

The pattern I’m using is an old one, Burda 2713, now discontinued. I’d made him a pair of shorts from the same pattern, years ago, and they still fit him well. I made a couple of modifications to the trouser pattern. I couldn’t, for instance, see John wanting a seam across the upper part of the leg, and hidden snap fasteners seemed, to me, smarter than button closures on the cargo pocket flaps.

Trouser cargo pocket detailThe key things with men’s clothes, I think, are accurate stitching and crisp, well-pressed, details. Of course, you could say that about any dressmaking project, but since most men’s clothes don’t lend themselves to frills, fullness, or busy prints, there are less opportunities to hide small errors! I therefore took great care to mark fold lines, stitching lines and balance points, using a combination of carbon tracing paper and scissor snips. There isn’t much difference between the right and wrong side of this fabric either (the wrong side was identifiable most easily by feel and a slight inconsistency in the dye), so I put a tailor’s chalk mark on the wrong side of each pattern piece.

Trouser fly zipper detailThis fabric is tough and I was glad of my Pfaff sewing machine’s semi-industrial motor. With a 90/14 jeans needle, it coped easily with multiple layers. The most important design detail on most trousers is the pockets and it’s essential to make sure the rows of top-stitching are parallel and the corners are crisp and square. You need an edge tool of some sort. I enjoy using my hand-made wooden point turner and mini clapper tool from Julia Stern Designs.

As you might expect, I’ve used a metal zip for the fly closure. The top stitching could be a challenge, though it’s surprisingly easily achieved by hand rotation of the wheel to place the needle carefully into the gap between the zipper teeth. I teach fly zip closures in the second of my Skills Development classes for non-beginner dressmakers, but – for those who are unable to get to those – I may use John’s promised second pair of trousers as the basis for a video tutorial.

Finished cargo pocket trousersFor the earlier shorts, I used the same buttons on the pockets and waistband but, since I hadn’t used buttons on the pocket this time, I used a bronze jeans button. The instructions tell me to hammer the tack gently into the button but, this really only works if you use a heavy hammer. If at all possible, it’s best to give the tack a good, square whack to secure it in place first time. If you don’t you’ll risk bending the head of the tack, which could allow it to slip through the hole in the fabric.

I finished off the hem and attached the belt loops and the trousers were done. John looks pleased with them, don’t you think?

The couture jacket #2

Posted on 2 Comments

So, I left you looking at an unfinished jacket, Claire Shaeffer’s Vogue pattern V9099, without sleeves or lining, and there was clearly a bit of work to do before the Mallow College of Design and Tailoring fashion show on 1st June.

I had intended to use a plain lining but, having put so many hours into the construction, plain acetate lining didn’t seem to quite fit the bill, so I bought a silky patterned lining from myfabrics.co.uk, one of my most useful suppliers. Usually, with a jacket or coat, the lining is more or less fully assembled and then stitched into the garment, using a ‘bagging’ method. This involves leaving a gap in one of the seams, machine-stitching the lining to the hem and facings, and then turning the whole thing inside out and hand-stitching to close the seam. Not so with a couture or tailored jacket.

silky-patterned-jacket-liningIn this jacket, the two halves of the lining are constructed separately; each half consists of a back section, a side panel, and a front section. The panels for each half are stitched and then attached to the corresponding front facing using a running stitch. The facings are then secured to the jacket front with a catch stitch. The side panels of the lining are then secured to the jacket seams with a running stitch and, finally, the jacket is folded in on itself so that the centre back seam of the lining can be sewn. The pattern instructions allowed me to use the machine for that seam!

And so, onwards. The bottom of the hem was hand-sewn. But, of course. And then we were on to the two-piece sleeves – interfaced with tailor’s canvas at the hem and sleeve head. (The pattern also called for an optional interfacing for the sleeve underarm, but – since it was optional, and there was plenty of body in the tweed – I passed on that one.) The sleeves were set in by hand, using backstitching. The pattern instructions inform me that backstitching is more elastic than machine-stitching and, therefore, more comfortable to wear.

hand-sewn-keyhole-buttonholesThe shoulder pads are slim, compared to the commonly-available foam ones, so I bought in some from a tailoring supply company. They’re constructed in layers of wadding and felt, and so easily customisable.

With the sleeves in and lined, the jacket is practically finished, save for the buttonholes – also hand-stitched. It’s been years since I hand-stitched a buttonhole – perhaps, not since schooldays? I was pleased with the look of the V9268 Misses' Knit, V-Neck, Draped Dressesjacket, so far, and I’ll confess that I found the idea of slicing into the expensive tweed more than a little terrifying. In the end, though my buttonholes might not stand up to scrutiny from a Savile Row tailor – and after a lot of practice – I’m pretty pleased with them.

OK, so we have a jacket, but the model isn’t going to be happy shimmying down the runway in her knickers, so I needed something to go under it. I had originally planned a fine cotton blouse and a pair of formal indigo-coloured trousers, but my tutor felt that anything ‘too ordinary’ would detract from the work in the jacket.

MCDT Fashion Show at Clayton Hotel Silver Springs, Cork; photo courtesy of Waxwing Photography
vogue-pattern-V9268-liquid-satin
MCDT Fashion Show at Clayton Hotel Silver Springs, Cork; photo courtesy of Ondine Media

Instead, I decided on Vogue pattern, V9268, by Kathryn Brenne – a plain, fitted, ankle-length dress, with a full, draped skirt, designed for a 2-way stretch fabric. I wanted a bit more shimmer to the dress, and adapted the pattern for a liquid satin with the addition of a zip. I also didn’t go for the bound neckline of the original and added a facing for a sleeker finish.

Both garments were greatly flattered by the slim figure of a professional model …

Recycle, restyle, repurpose

Posted on Leave a comment
restyled and repurposed red silk dress on mannequin
too small and out-of-style dress needs a new lease of life

This was once a favourite dress; I’ve had it for years. It had a small train that made it too long for a standard full-length cupboard, it was out of style, and I had long-since outgrown it. Despite this, I could never quite bring myself to throw out such a quantity of pure red silk. So, having come across it again last week, in the process of rationalising my wardrobe, I decided to give it a second lease of life. I decided to recycle the silk and create something that I could actually wear.

care needed to be taken with grain lines, when placing the pattern pieces within the dress panels.

The first task was to carefully dismantle the original dress. There was very little that I could have done with the pleated bodice, made from folded strips of bias-cut silk, so I’m afraid that part was discarded. I figured the sleeves would be big enough to cut a bodice panel from, so I kept those – and there was undoubtedly useful yardage in the long flared skirt.

The pattern I’m using for this little project is Vogue Easy Options #V8997. Made with the recommended linen blends, crepe, tropical wool or broadcloth, it makes up as a summer day dress, but view E showed straight, sleeveless version that I thought would make a lovely short evening dress in my red silk. In my size (largish!), the pattern calls for 1.3m of dress fabric. Looking at the skirt and sleeves of my old dress, I reckoned I’d have just enough. The only other things I would require would be a soft Vilene interfacing and a zip.

bodice panels were cut from sleeves

The straight grain was easy enough to identify on the back panels of the skirt, so I left the overlocked edge alone and lined up the front panels of the dress. The other panels were trickier, being cut on the bias, so I gently stretched the fabric to find the grain and worked from there. The sleeves were just big enough to cut two bodice side panels from.

I'll undoubtedly get more use from this remodelled dress.
I’ll undoubtedly get more use from this remodelled dress.

Unfortunately, the lining fabric was more fragile than the silk, and parts of the seams ripped when I tried to unpick them. The result was that I didn’t have enough lining left from the original dress to line the new one … so I used silk for four bodice lining panels instead!

With all the pieces cut out, I proceeded as per the pattern instructions and quickly forgot the old dress. I’m delighted with the new one. What do you think? Have you got a dress you would like to remodel?

The couture jacket #1

Posted on Leave a comment

I love learning and I particularly love learning new sewing techniques and, these days, with YouTube at my fingertips, for every problem there’s a thousand self-styled tutors ready to share their skills. But, even with 30+ years’ sewing experience, for a bit of finesse there’s nothing quite like taking yourself back to college. I’m just about to complete my first year with The Mallow College of Design and Tailoring, and the annual fashion show looms large on the horizon.

Vogue Pattern V9099Amongst the First-Years, there is a huge range of experience and ability – from those who had never sat at a sewing machine before, to those, like me, whose day-to-day work requires use of one. For the fashion show, this year, we are not required to design anything, but rather put together a striking outfit using commercial patterns. Whatever is chosen (and whatever size they are made in), the outfits will be worn by professional models and are expected to be beautifully made. Hence, novice students are gently steered away from overly complicated or time-consuming patterns. But me? What is it they say about fools rush in where angels fear to tread?!  Coats and jackets are not something that I’m asked for very often, and it’s been a long time since I made one for myself. So, in choosing this classic Claire Shaeffer couture jacket, I knew I was setting myself a bit of a challenge.

I’ll spare you the history of the first few weeks of the project, where progress (one day a week in class only, punctuated by multiple absences for ills, chills and bad weather) was painfully slow – seemingly endless hand-basting (Gutermann 100% cotton tacking thread has been a revelation), pressing, shrinking and shaping of the wool tweed and its canvas interfacing. But then things started to get interesting …

Even in 2018, perhaps the thing that most defines couture sewing is the hand finishing. Even so, I don’t think I was quite prepared for the amount of hand-sewing that goes into a tailored jacket. “These techniques are uneconomic for most women’s clothes because fashions change so quickly”, says College Principal, Mary Cashman, “but they’re still common in men’s suits. A man’s suit is built to last. He might only have one, and will probably be buried in it!” Well, yes, I might yet come to be buried in my jacket, too.

pad-stitched jacket lapel
Pad-stitching the underside of the lapel

The first taste of things to come arrived with the instructions concerning the pad-stitching and shaping of the lapel. The differing length and spacing of the chevron-patterned stitching is surprisingly effective at causing the lapel to naturally curl from the break point and encourage it to lie flat against the breast of the jacket – even before it is steamed or pressed.

Next, I joined the side panels and constructed the pockets: a single welt breast pocket, and two double-welt hip pockets with flaps hand-stitched with running stitches. Finally, I got to attach the back panels at the sides and shoulders, and the front facing to complete the lapel. To ensure a precise finish, the trimmed seam allowances are ‘tamed’ by folding and hand-stitching in place, followed by a steam press and a brisk ‘spanking’ with a clapper! I kid you not.

Practice welt pocket samples
These practice pieces demonstrate the value of pattern matching when sewing details – or, rather, what happens when you don’t! Top and middle images, double welt hip pocket with flap. Bottom image, single welt breast pocket.

A traditional anvil-shaped tailor’s wooden ‘clapper’ is an invaluable tool for putting a crisp crease in tailored garments without risking scorching from prolonged use of the iron, for pressing seams open and turning points. I don’t have a heavy clapper. To be honest, until I started this project, I never thought I’d need one. I am, however, very attached to my little Perfect Point point mini clapper from J Stern Designs. Hand-made in a variety of hard woods, these versatile little tools can be used with a steam iron and, while they don’t have the weight of the traditional clapper, they are great for detail work – such as turning and pressing lapel points.

Hand-stitching the collar
Hand-stitching the under-collar to the back of the jacket.

I’ll not lie. I find tailored collars and lapels tricky at the best of times, and have adopted a tried and trusted ‘cheat’ technique to ensure that I always get them matching and looking crisp. This time, however, there were to be no short-cuts. Starting with thread tracing the seam allowances and roll line, followed by pad-stitching the interlining, this jacket’s collar is almost entirely hand-stitched, even to the point of attaching it to the jacket body using fell stitches.

With 91 of the 141 sewing instructions complete, the body of my jacket is now ready for its lining. But there’s still a long way to go. Join me again for the lining, sleeves, shoulder pads and buttonholes. Hand-sewn. But of course!

First day of term

Posted on Leave a comment
My make of Butterick shirt pattern, B5538, one of the beginner course pattern choices, with a completed tote bag.

Yesterday marked the beginning of my Spring term and a new sewing year. We had a full house of three newbies and one of last year’s ‘graduates’, who was acting as driver for her mum (and working away, herself, on a pretty, vintage-style, summer dress). Everyone rattled through the sewing machine basics and had, pretty much, nailed bobbin-winding and threading the machine within the first hour-and-a-half. By lunchtime, they all had the pleated pockets attached to the back and front panels of their bags.

I don’t worry too much about sewing machine skills at this point in the course. Everyone gets to thread their machine once or twice before sewing a couple of sample exercises. After that, it’s learning by doing. Sewing the tote bag sets everyone up nicely for their dressmaking project. Transferable skills include attention to seam allowances, pressing (as opposed to ironing), reverse stitching to secure threads, and adjustment of stitch lengths and tension. Things go wrong, the needle unthreads, the bobbin runs out, the machine jams and stitching knots, wonky seams have to be unpicked, and sometimes we have to change a broken or bent needle. It’s all part of the experience and helps build confidence, as students see how quick and easy it is to rectify most problems.

The bag pattern certainly isn’t a beginner pattern. Sure, most of the seams are straight, but there are also tricky processes, such as pivoting at the corners to attach the bottom, joining the lining to the outer, while matching the seams (and without catching the seam allowances in the stitching), not to mention sewing the curved seams that form the handles. Many sewing courses start beginners off with a two-dimensional project with exclusively straight seams – a simpler bag or a square cushion, for instance – but, if dressmaking is your goal, sewing straight seams is of limited usefulness. After all, our bodies are 3-D – and curvy!

After a break for lunch, pockets were attached to the bag side panels. Then, once the front, back, and side panels were all joined and seams pressed open, the whole bag was given last once-over with the iron, before the bottom was attached and assembly of the outer shell was complete. Next week, we’ll make up the contrasting linings and finish them off.

Butterick B5926 - new for 2018, an easy-to-sew jacket, made in a moderate stretch fabric.
Butterick B5926 – new for 2018, an easy-to-sew jacket, made in a moderate stretch fabric.

The only other thing to do, before the end of the first day, was to choose a dressmaking pattern. I had two orders for my new jacket pattern, Butterick B5926, and we’ll be making view C of the ever-popular Butterick dress, B4443.  Look out for my make of the jacket pattern, soon.

Would you like to learn to sew? It isn’t too late to join my classes and, for a trial period, I’m offering my beginners’ course in two parts. If dressmaking doesn’t appeal, but you would like to learn to use a sewing machine, you can spend two days making the tote bag, with no obligation to continue. Likewise, if you are already confident with the sewing machine (maybe you’ve made home furnishings, or done some quilting), you can sign up for four days’ dressmaking. See my Learn to Sew page for more details.

What’s stopping you learning to sew?

Posted on 4 Comments

Last autumn’s “No Fears”, beginners’ dressmaking course was my most popular yet. By running the 6-day course over 12 Saturdays or Sundays, and keeping class sizes to a maximum of four people, normally the most I could accommodate in one term would be eight. But September always seems to produce a spike in interest. Perhaps it’s just an after-effect of the long school holidays, and slightly frazzled parents are eager to secure a bit of ‘me time’ in the company of similarly-minded adults. After all, who could say no to a relaxing day’s sewing and a tasty lunch, in a lovely rural setting, for less per day than an hour’s personal training?! The course was almost fully subscribed by the end of August, but the enquiries kept coming. I added more dates and, suddenly, I had twelve signed up!

All materials for a colourful tote bag are included in the course fee.

The participants ranged in age and experience from a TY student who had just been given her first sewing machine, to the recently retired, who hadn’t sewn since school and now found themselves with free time to express their creativity. Whatever their backgrounds, all my students – since the very first presentation of the course in 2012 – have thrown themselves into their first sewing project with gusto and have been, without exception, thrilled to leave, at the end of Day #1, with the rudiments of an attractive and practical tote bag. I do all the tiresome cutting out and preparation of the pattern pieces, and the materials (including sewing thread and loan equipment) are all included in the course fee. It’s become a sort of signature project, and one I would be foolish to replace!

Apart from lunch (and unlimited tea and coffee), the beginners’ course fee includes a sewing pattern. I keep things easy for everyone, by limiting the choices to 3 or 4 easy patterns. None of these are ‘beginner’ patterns and all have been carefully chosen to include features such as zips, sleeves, or buttons – all essential dressmaking skills that are transferable to future projects.

Butterick B4443 has proved to be a runaway favourite with my beginners.

Most of the patterns make up into several different ‘views’, with options for different necklines, lengths or sleeves and, by purchasing their own fabric, participants usually find something that will suit them and that they will enjoy making. Butterick dress pattern B4443 has been the runaway favourite since its introduction to the course but, for Spring 2018, I’ve added a classic buttoned shirt pattern, and a simple jacket.

The new term starts on Saturday, 3rd February, and runs until Sunday, 21st April. You can book any combination of 6 Saturdays and/or Sundays to fit around any existing diary commitments. So, why put it off. Make 2018 the year you learn to sew!

Book Beginner Sewing Course

No sew zipper repair

Posted on Leave a comment
Repair a zipper without replacing it.

“Une réparation ingenius” (an ingenious repair)

Mondial Tissus, Tarbes: a fabric and haberdashery heaven we, in Ireland, can only dream of.

We had to book a service for the car yesterday so, while in Tarbes (Midi-Pyrenees), I took the opportunity to visit one of my favourite shops, Mondial Tissus – the sort of sewist’s heaven that we, in Ireland, can only dream of. Housed in an industrial unit on a trading estate, a few kilometres west of the city, you’ll find a fabulous selection of dress and furnishing fabrics, sewing accessories and haberdashery, and – if your French is up to it – you can even book a sewing class.

I was there to choose some brushed cotton for a shirt I have promised my mum. But, since they had a 4 for the price of 2 sale on buttons, in addition to the ones I bought for her, I bought some for myself … and a shirt length of pretty printed cotton to go with them. Like you do.

But, as it turned out, the fabric wasn’t the highlight of my visit. Unusually, there was a queue at the checkout. The cashier was busily examining the zipper of a fleece jacket, brought in by another customer. The slider was caught and the zipper wouldn’t separate.

As we watched, the cashier took out a pair of sharp dressmaking shears and carefully prised off a couple of zipper teeth just below the slider, allowing her to remove it. Then she took a replacement slider – not quite the same colour as the original, but the same size – made a small snip in the top of one side of the zipper tape about 1cm below the stop, and slid the new slider onto the tape. The missing teeth at the bottom of the tape didn’t seem to impact on the function of the new slider, and the whole repair – and the similar repair of two other coats – was effected in about 5 minutes, save for closing the snipped tape with a couple of stitches.

Mondial Tissus, Tarbes. One of a chain of more than 70 stores throughout France. Well worth a visit.

Replacing a slider is a tried and trusted method of salvaging a favourite garment without changing the zipper, and zipper repair kits and decorative replacement sliders can be bought – or you might be able to cannabalise an old zipper from another garment. However, the usual (and neater) method of replacement is fiddly and involves different tools for removing and replacing the zipper stops. The repair I witnessed wasn’t the most professional, but it was quick and effective, and a useful trick to remember. The customer service ethic displayed by the cashier was exemplary and the customer will probably get years’ more use out of her three jackets.